Installing Python With Sklearn On Windows
Summary:
We cover installing sklearn on Windows with the help of Free Intel Python Distribution. Sklearn is an awesome library with which you can get a prototypes done quickly. Head over http://scikit-learn.org/stable/ for more convincing.
Short Steps:
2. Point IDE's python interpreter Or Env Variable to c:/intelpython3/python.exe
3. That's it!
Installing Python, sklearn, scipy, numpy...
Many of you will probably already have a python interpreter and will try to install the sklearn and it's dependencies via pip install sklearn and sadly, most of you will encounter the follow error:
No Lapack/Blas Resources Found
Thankfully there are many ways to get over this situation. Most of the online resources already available on stackoverflow will tell you to use easy_install or wheel files like here. However, there is any easier(lazier if you are like me) alternative.
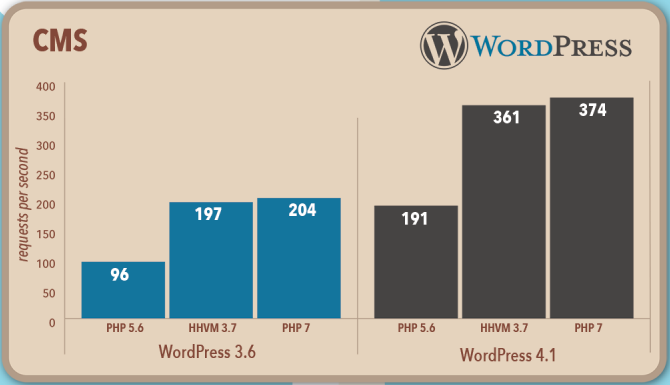
Intel now has a free python distribution which has all the libraries required to run sklearn perfectly(and apparently faster). You can get it here https://software.intel.com/en-us/distribution-for-python and the setup is pretty easy. But not only that Intel also claims that their distribution is more performant! For example see below.

You can have a look at more graphs here https://software.intel.com/en-us/distribution-for-python/features
Configuring A Cool IDE PyCharm
My IDE of choice is PyCharm. It has cool autocomplete, autoimport and many more features which come in very handy. PyCharm is free and can be download here. Once you have the Intel Python Distribution installed you will need to point PyCharm to the new interpreter. For that go to settings->project interpreter and point to where you installed the distribution. Normally it's at c:/intelpython3/python.exe.

And you should be done! Thanks for reading and I hope that this post has helped you avoid a headache.

Comments
Post a Comment